Sewing zippers can be one of the most intimidating tasks for both beginners and seasoned sewists alike. However, with the right tool such as a zipper foot sewing machine – you can master the technique and achieve professional results. In this blog, we’ll walk you through step-by-step instructions to sew a perfect zipper using a zipper foot.
What Is a Zipper Foot Sewing Machine?
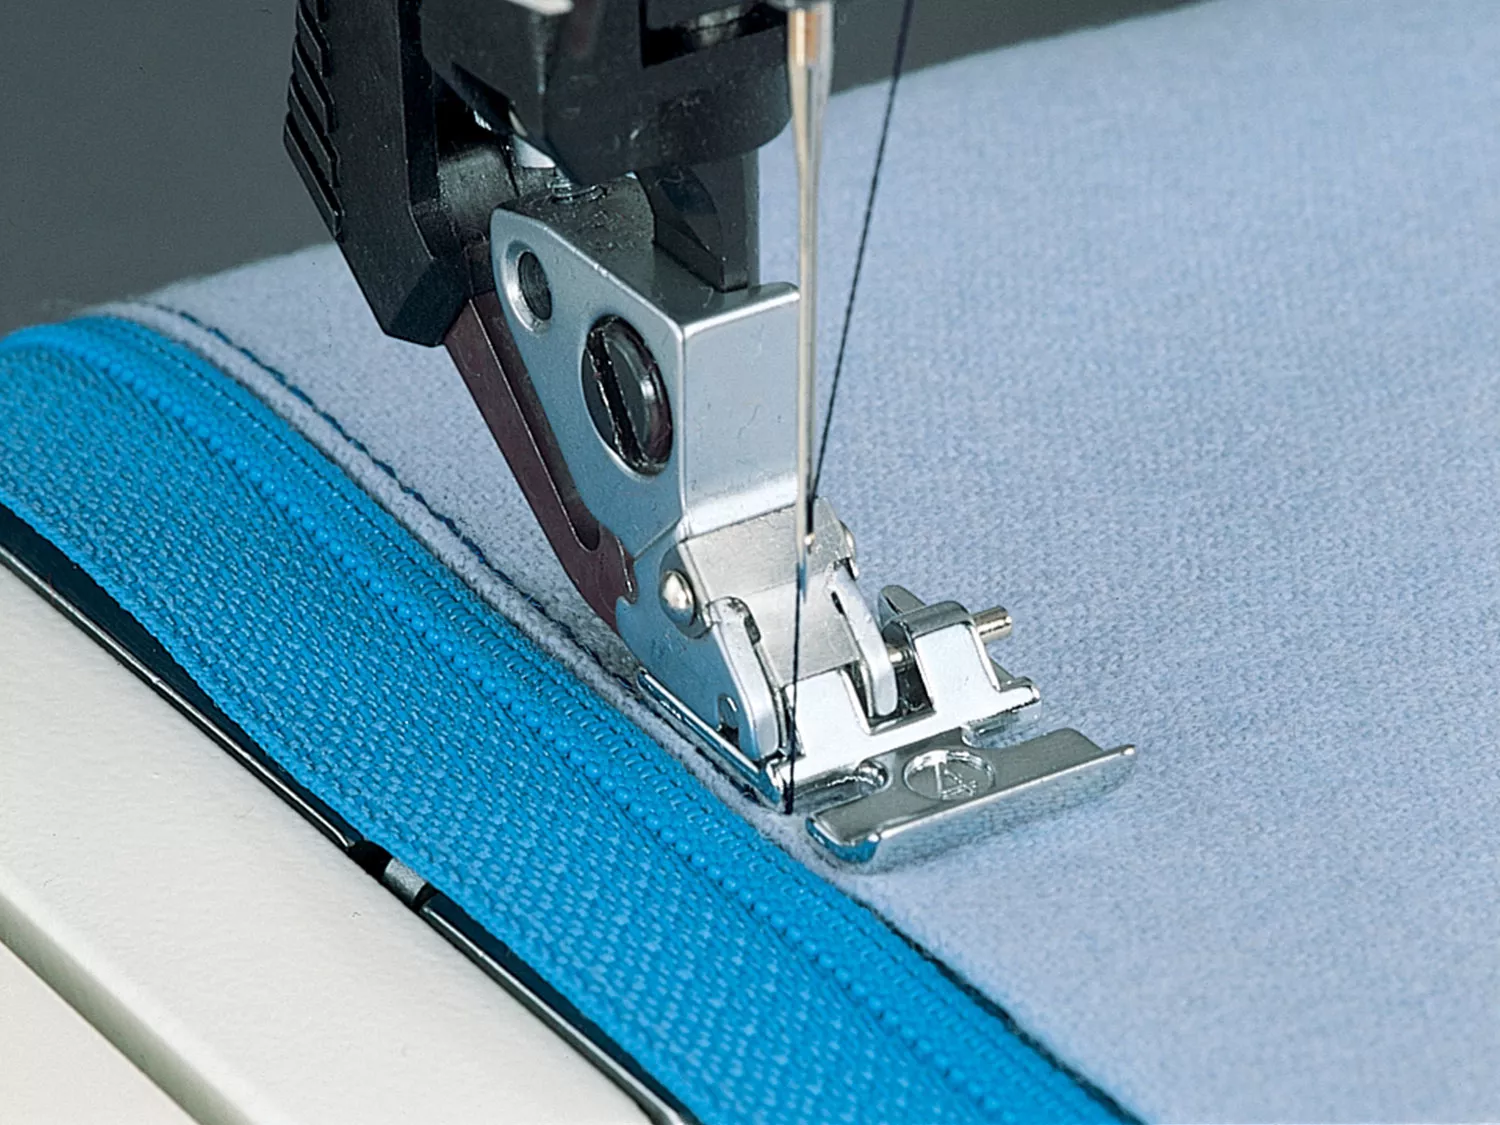
A zipper foot sewing machine is equipped with a special sewing machine attachment called a zipper foot, designed to help you sew close to the edge of the zipper teeth. This ensures neat and precise stitching. Unlike regular presser feet, a zipper foot lets you sew close to either side of the zipper, without the extra bulk of a standard foot obstructing your stitching.
Step-by-Step Guide to Sewing a Zipper
1. Prepare Your Fabric and Zipper
Before you begin, ensure your fabric edges are neatly finished—use a zigzag stitch or serger if needed. Choose a zipper that’s slightly longer than your intended opening to make the process smoother.
2. Mark the Zipper Placement
Place the zipper face-down onto your fabric, aligning the zipper teeth with the edge of the seam allowance where it will be sewn. Mark the top and bottom placement of the zipper with chalk or fabric marker to ensure accurate sewing.
3. Pin or Baste the Zipper in Place
To keep the zipper secure while sewing, use pins or baste it in place by hand. Pins can sometimes move around as you sew, so hand-basting with long, temporary stitches might give you more control. Be sure to keep the zipper flat without any waves or puckers.
4. Attach the Zipper Foot
Now it’s time to attach the zipper foot to your zipper foot sewing machine. Most machines come with a zipper foot, but if yours doesn’t, they are widely available for purchase. Check your sewing machine manual to learn how to attach it.
The zipper foot can be clipped on either the left or right side, depending on which side of the zipper you’re sewing. To sew along the right side of the zipper teeth, attach the foot so it aligns with the teeth on the left side.
5. Sew the First Side of the Zipper
With your zipper foot in place, start sewing from the top of the zipper to the bottom. Position the edge of the zipper foot close to the zipper teeth to ensure a clean, straight stitch. Sew slowly, especially around the zipper pull. When you reach the bottom, backstitch to secure the seam.
Pro Tip: When sewing near the zipper pull, stop with the needle down, raise the presser foot, and gently move the pull out of the way for smoother sewing.
6. Sew the Second Side
Once you’ve sewn the first side, switch the zipper foot to the opposite side and repeat the process for the other half of the zipper. Ensure both sides are symmetrical for a polished look.
7. Press and Finish
After both sides of the zipper are sewn, give your fabric a light press with an iron. Be cautious not to melt the zipper if it’s plastic. Once pressed, topstitch around the zipper for an extra professional finish or leave it as-is for an invisible look.
Conclusion
Sewing a zipper can seem daunting at first, but with the help of a zipper foot sewing machine, you can achieve a neat, professional-looking finish every time. By following these simple steps and practising, you’ll be sewing perfect zippers in no time! Whether for garments, bags, or home décor projects, the zipper foot sewing machine is an essential tool for any sewist.


2019년엔 박 대표 본인이 제주도로부터 ‘제 주 푸른콩 된장 장인’으로 지정받았다